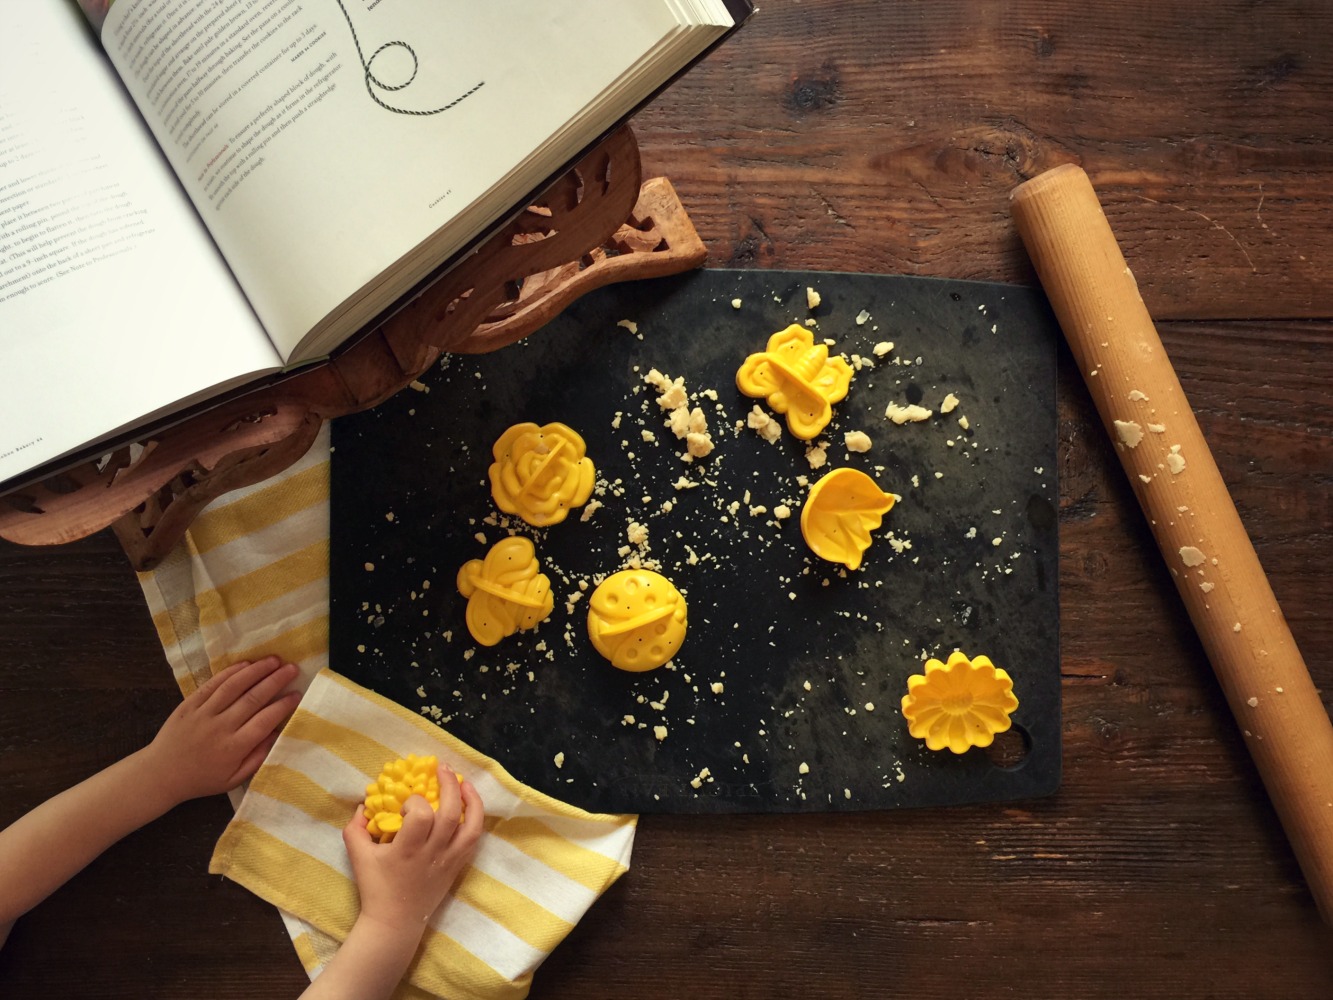
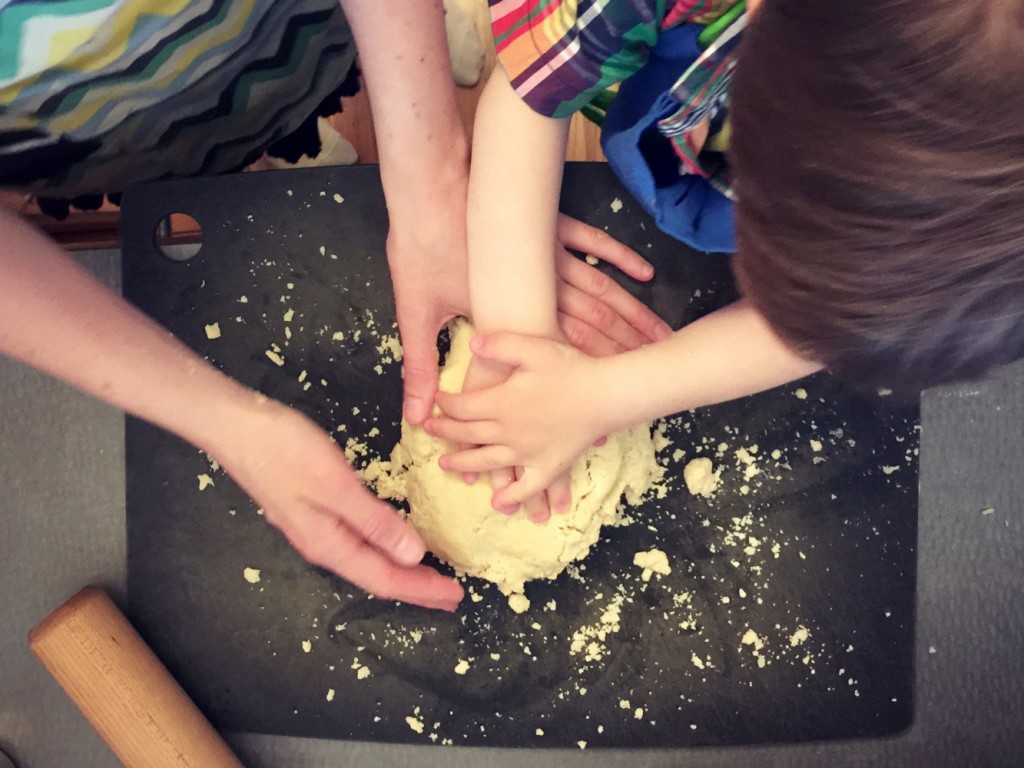
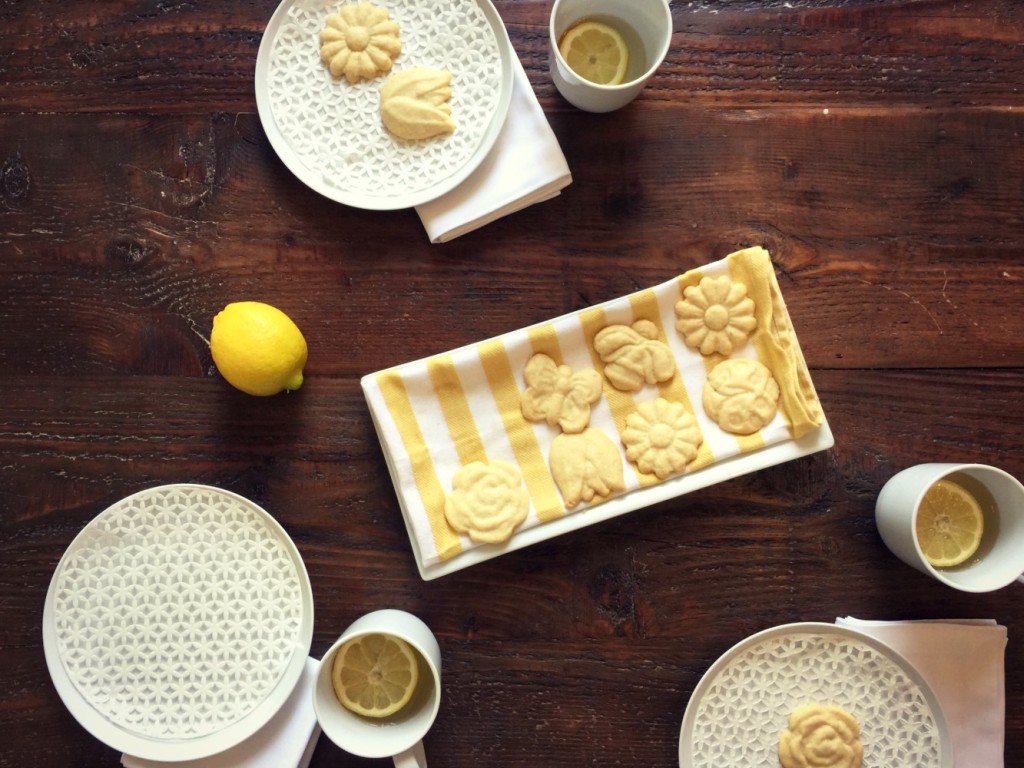
We had quite the exciting May Day celebration this morning! After pancakes, toddler and baby put on their floral crowns in preparation to deliver our May Baskets. Baby did not actually like the floral crown and refused to keep it on. I expected that to happen. I still got a few adorable pics! Toddler loved delivering the May Baskets and brought a lot of energy to the task! Between hanging each basket, he got distracted and jumped around like a crazy man… as was expected! Toddlers! After all the excitement, we went back inside to eat our delicious shortbread cookies we made the day before. I used Thomas Keller’s “Shortbread” recipe (a favorite of mine) and my Nordic Ware “Garden Cookie Cutter” set. I love the cutsie spring shapes of the cookie cutters. So fun and whimsical! I have even used them to make butter pats for pancakes! I served Warm Honey Lemon Water with the shortbread, since we have all been sick with sore throats and coughs these past couple weeks. No fun! We are all on the mend, however.
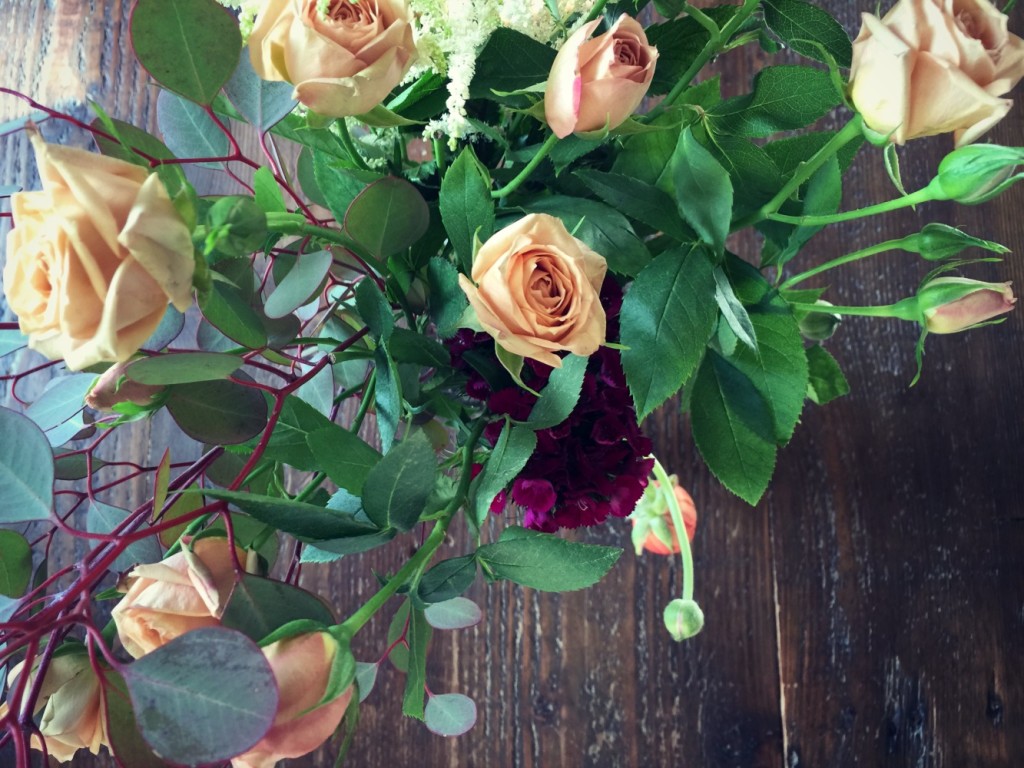
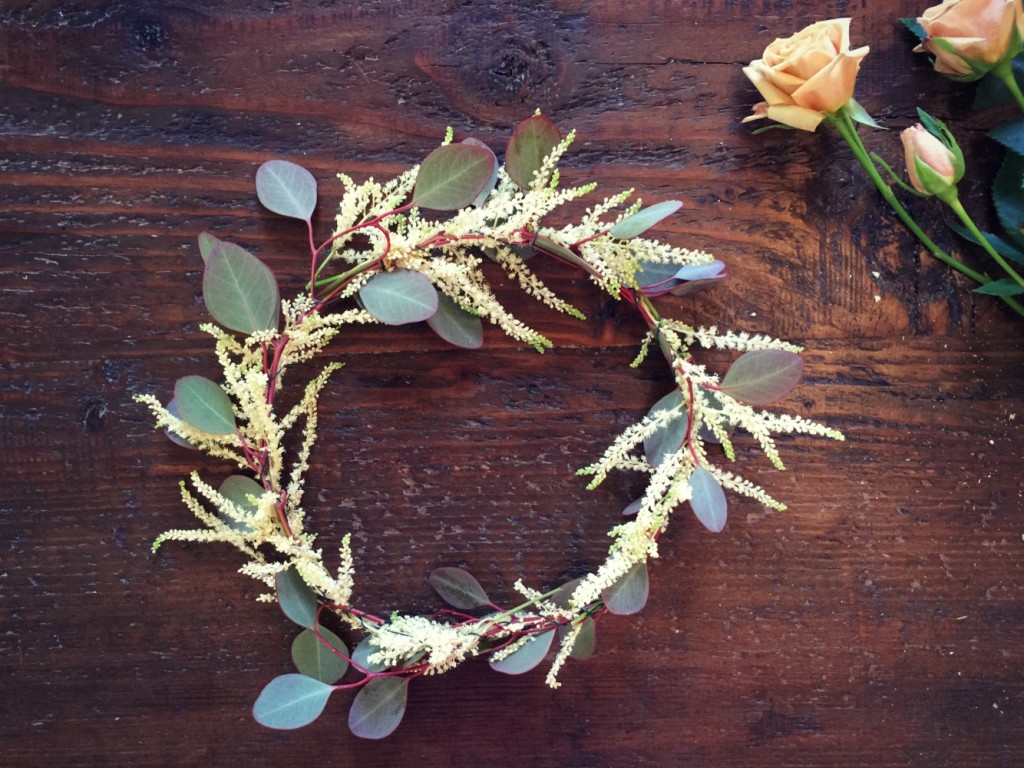
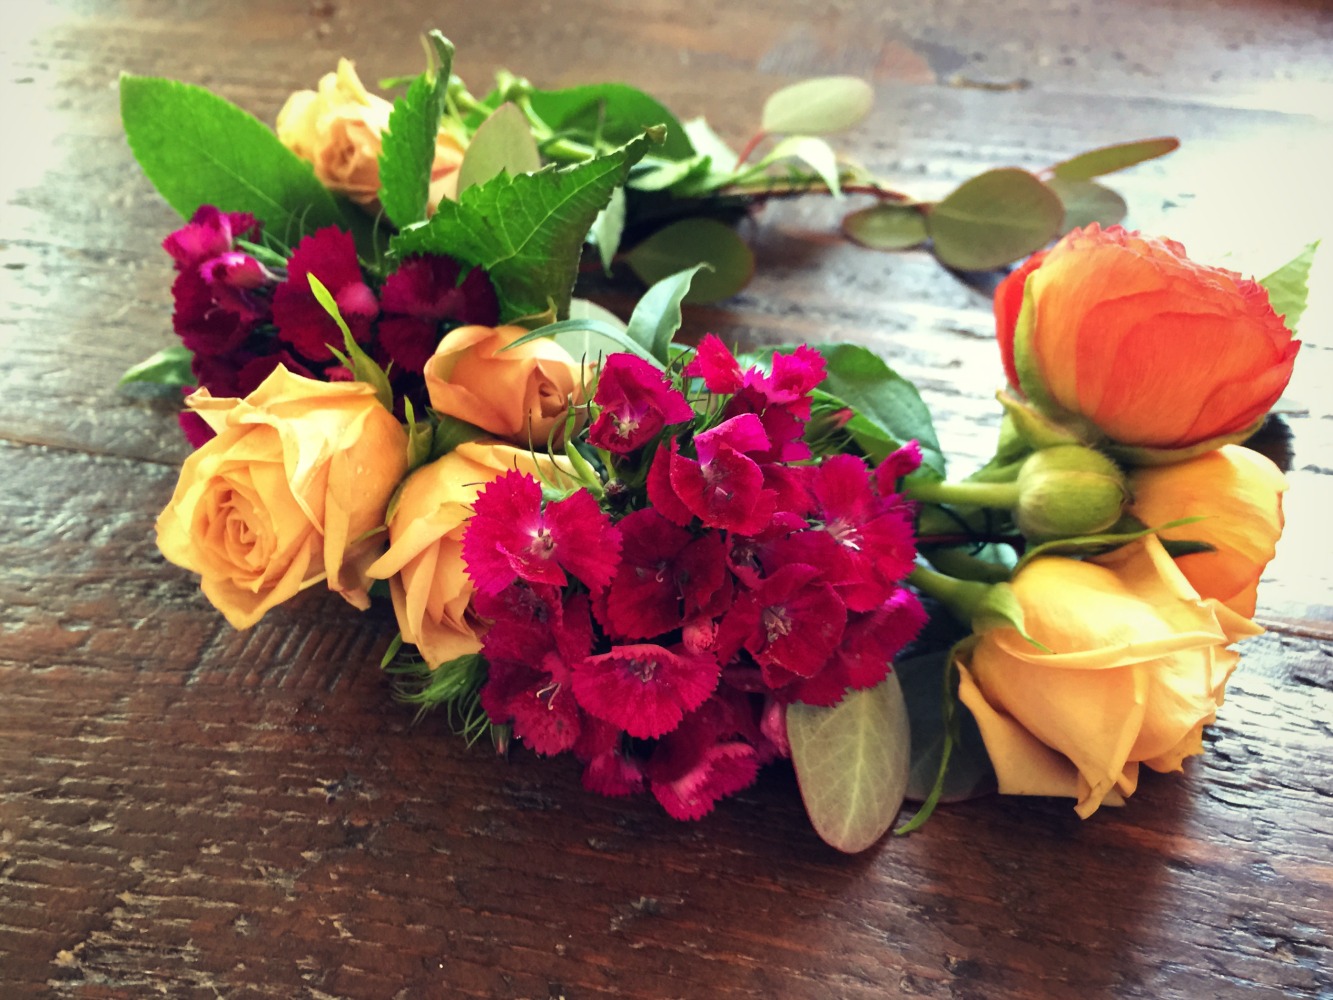
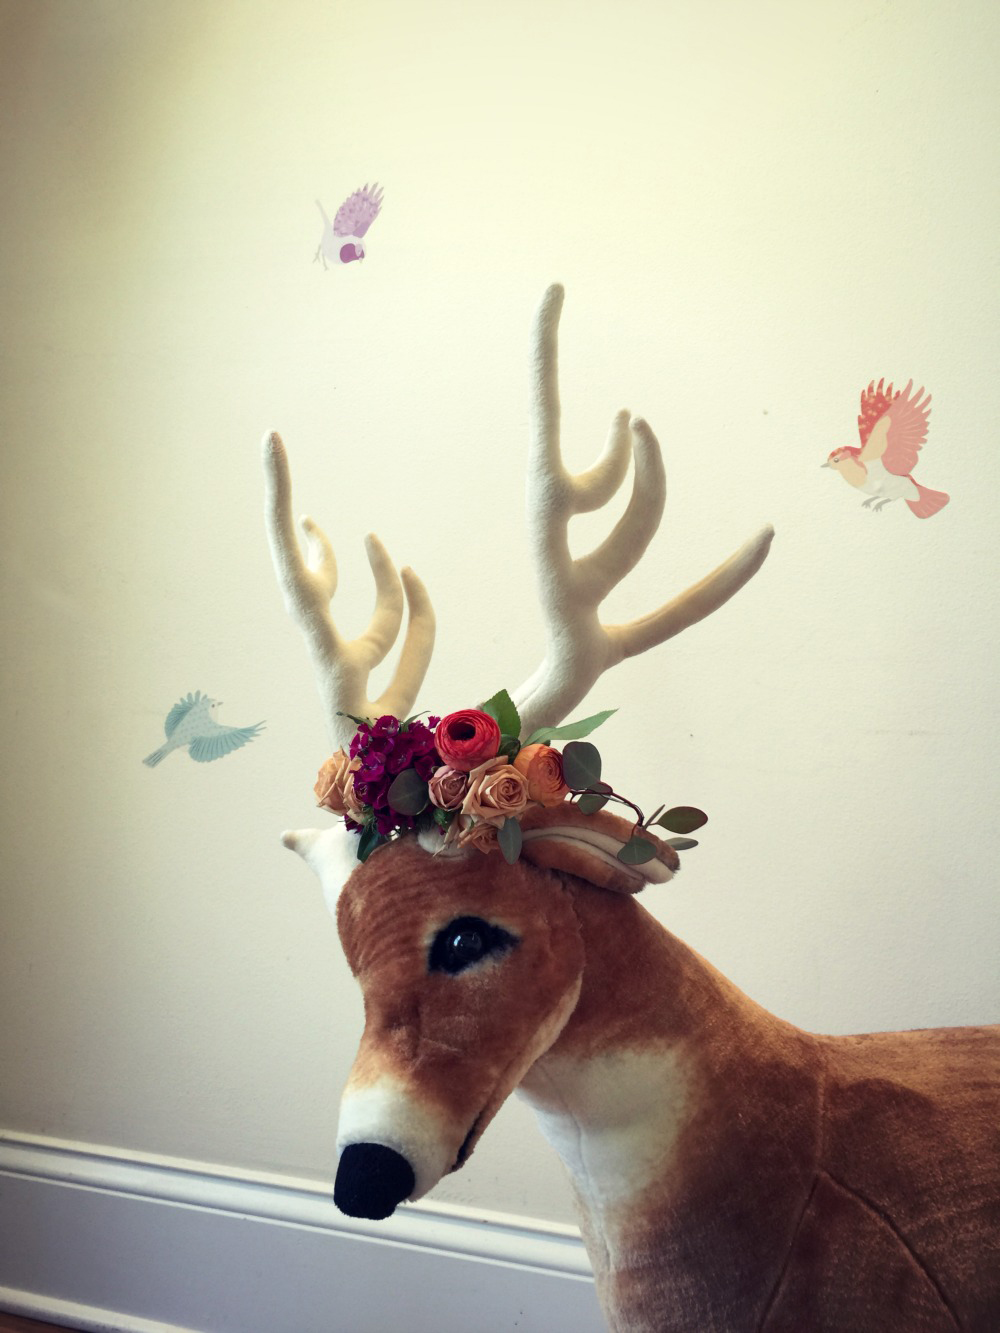
In preparation for today, besides making cookies ahead of time, I also made the floral crowns the day before. They keep so nicely in the refrigerator as long as you keep them in a plastic bag spritzed with water. Have I mentioned my mother owns a flower shop and that I have a certificate from the Koehler & Dramm’s Institute of Floristry? It is actually my mother who started the floral crown tradition for May Day. With my floral experience, making the crowns was a pretty easy task. They are not perfect, but that was okay just for May Day. Some of the mechanics (wires, tape) are showing. If you are making floral crowns for a more important festivity, just be sure to cover everything with more greenery or filler. Easy!
Working with flowers comes natural to me, but I am still always learning! In fact, I changed my construction plans for the floral crowns after discussing them with the wonderful, generous florists at Pistil & Vine. I was prepared to wire and tape my flowers individually or into clusters, then twist those all together into a crown. Pistil & Vine shared an easier method, which I think a lot of people will appreciate! It took me 15 minutes using their method to make these two floral crowns (as mentioned, I do have floral experience, so it might take a little longer if you haven’t done anything like this before). Pictures and instructions are below.
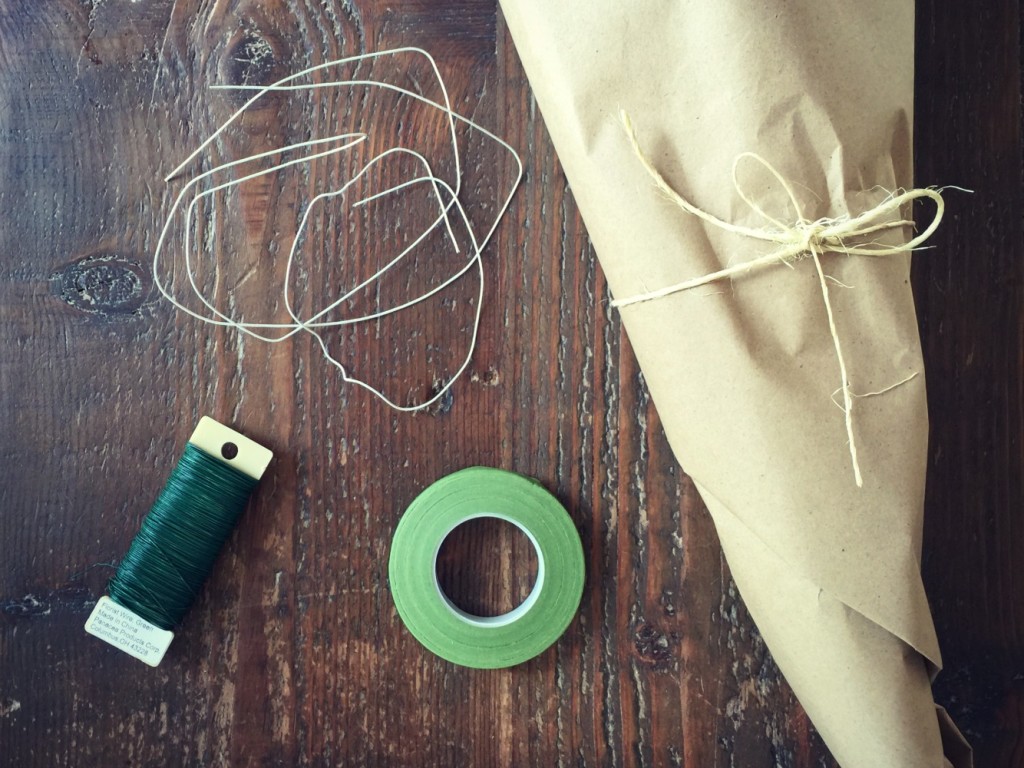
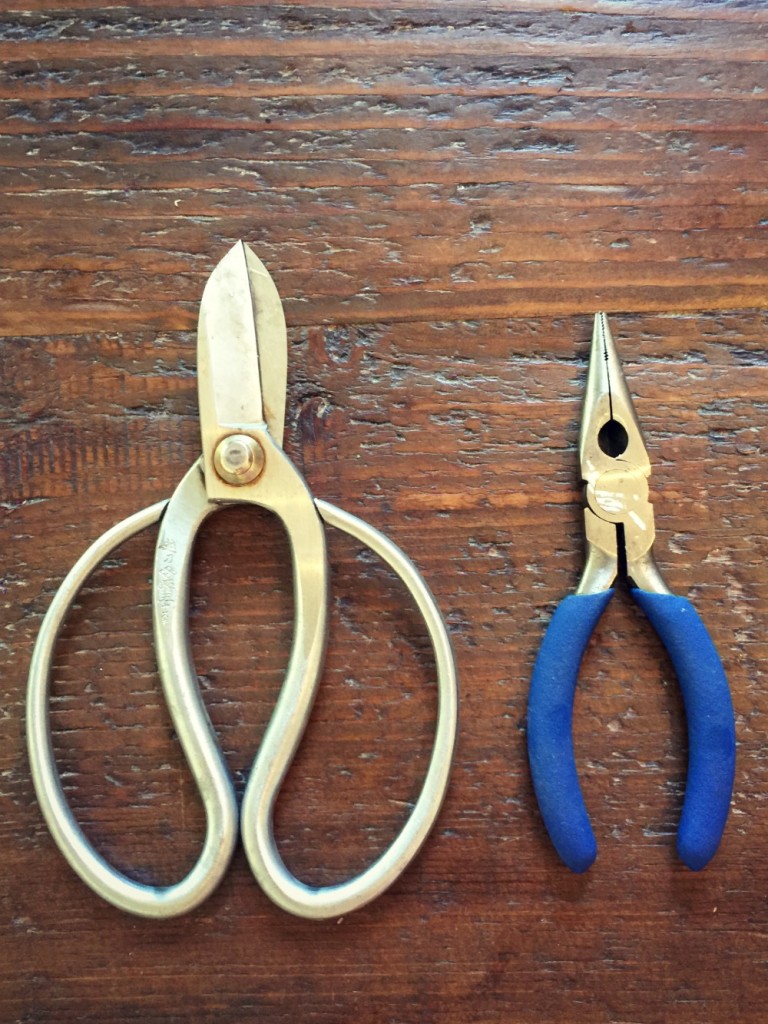
- Cut a piece of the fabric wrapped wire to the correct length (the circumference of the wearer’s head + a little extra for twisting the ends).
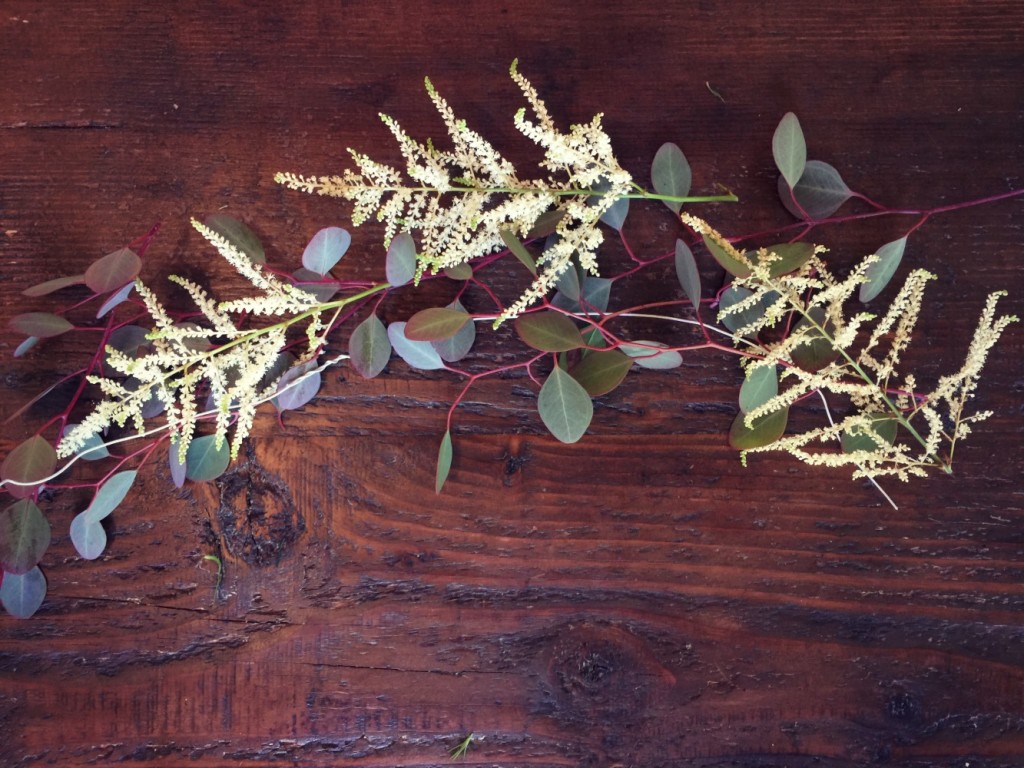
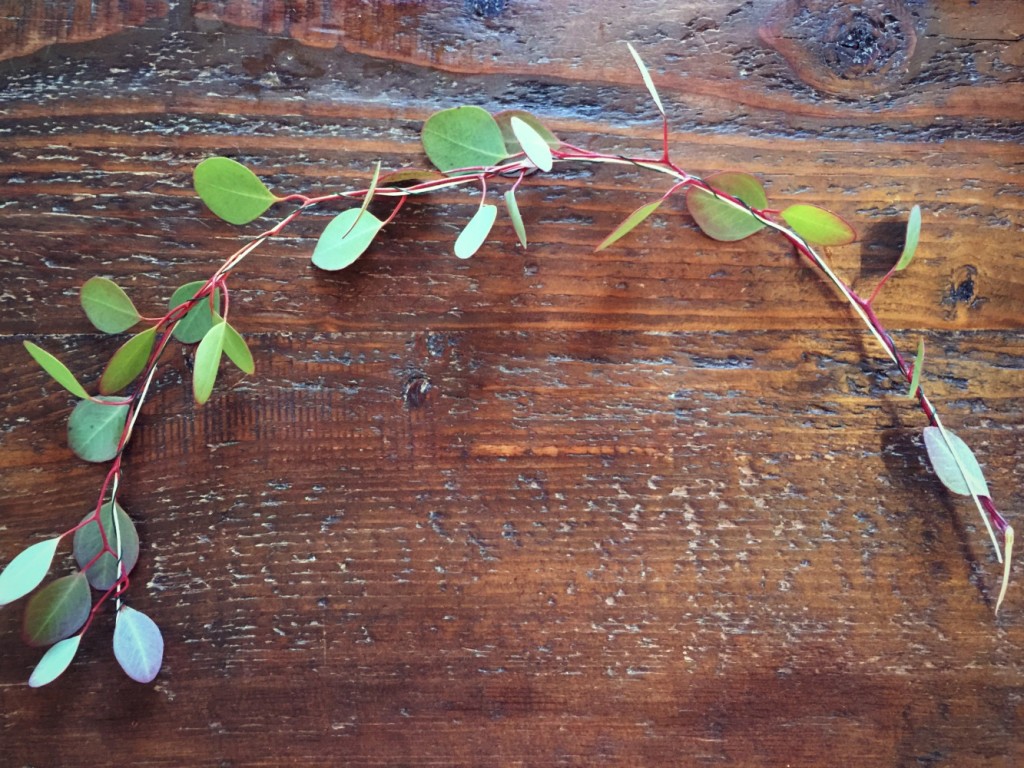
- Cut enough pieces of filler to cover the entire length of the fabric wrapped wire.
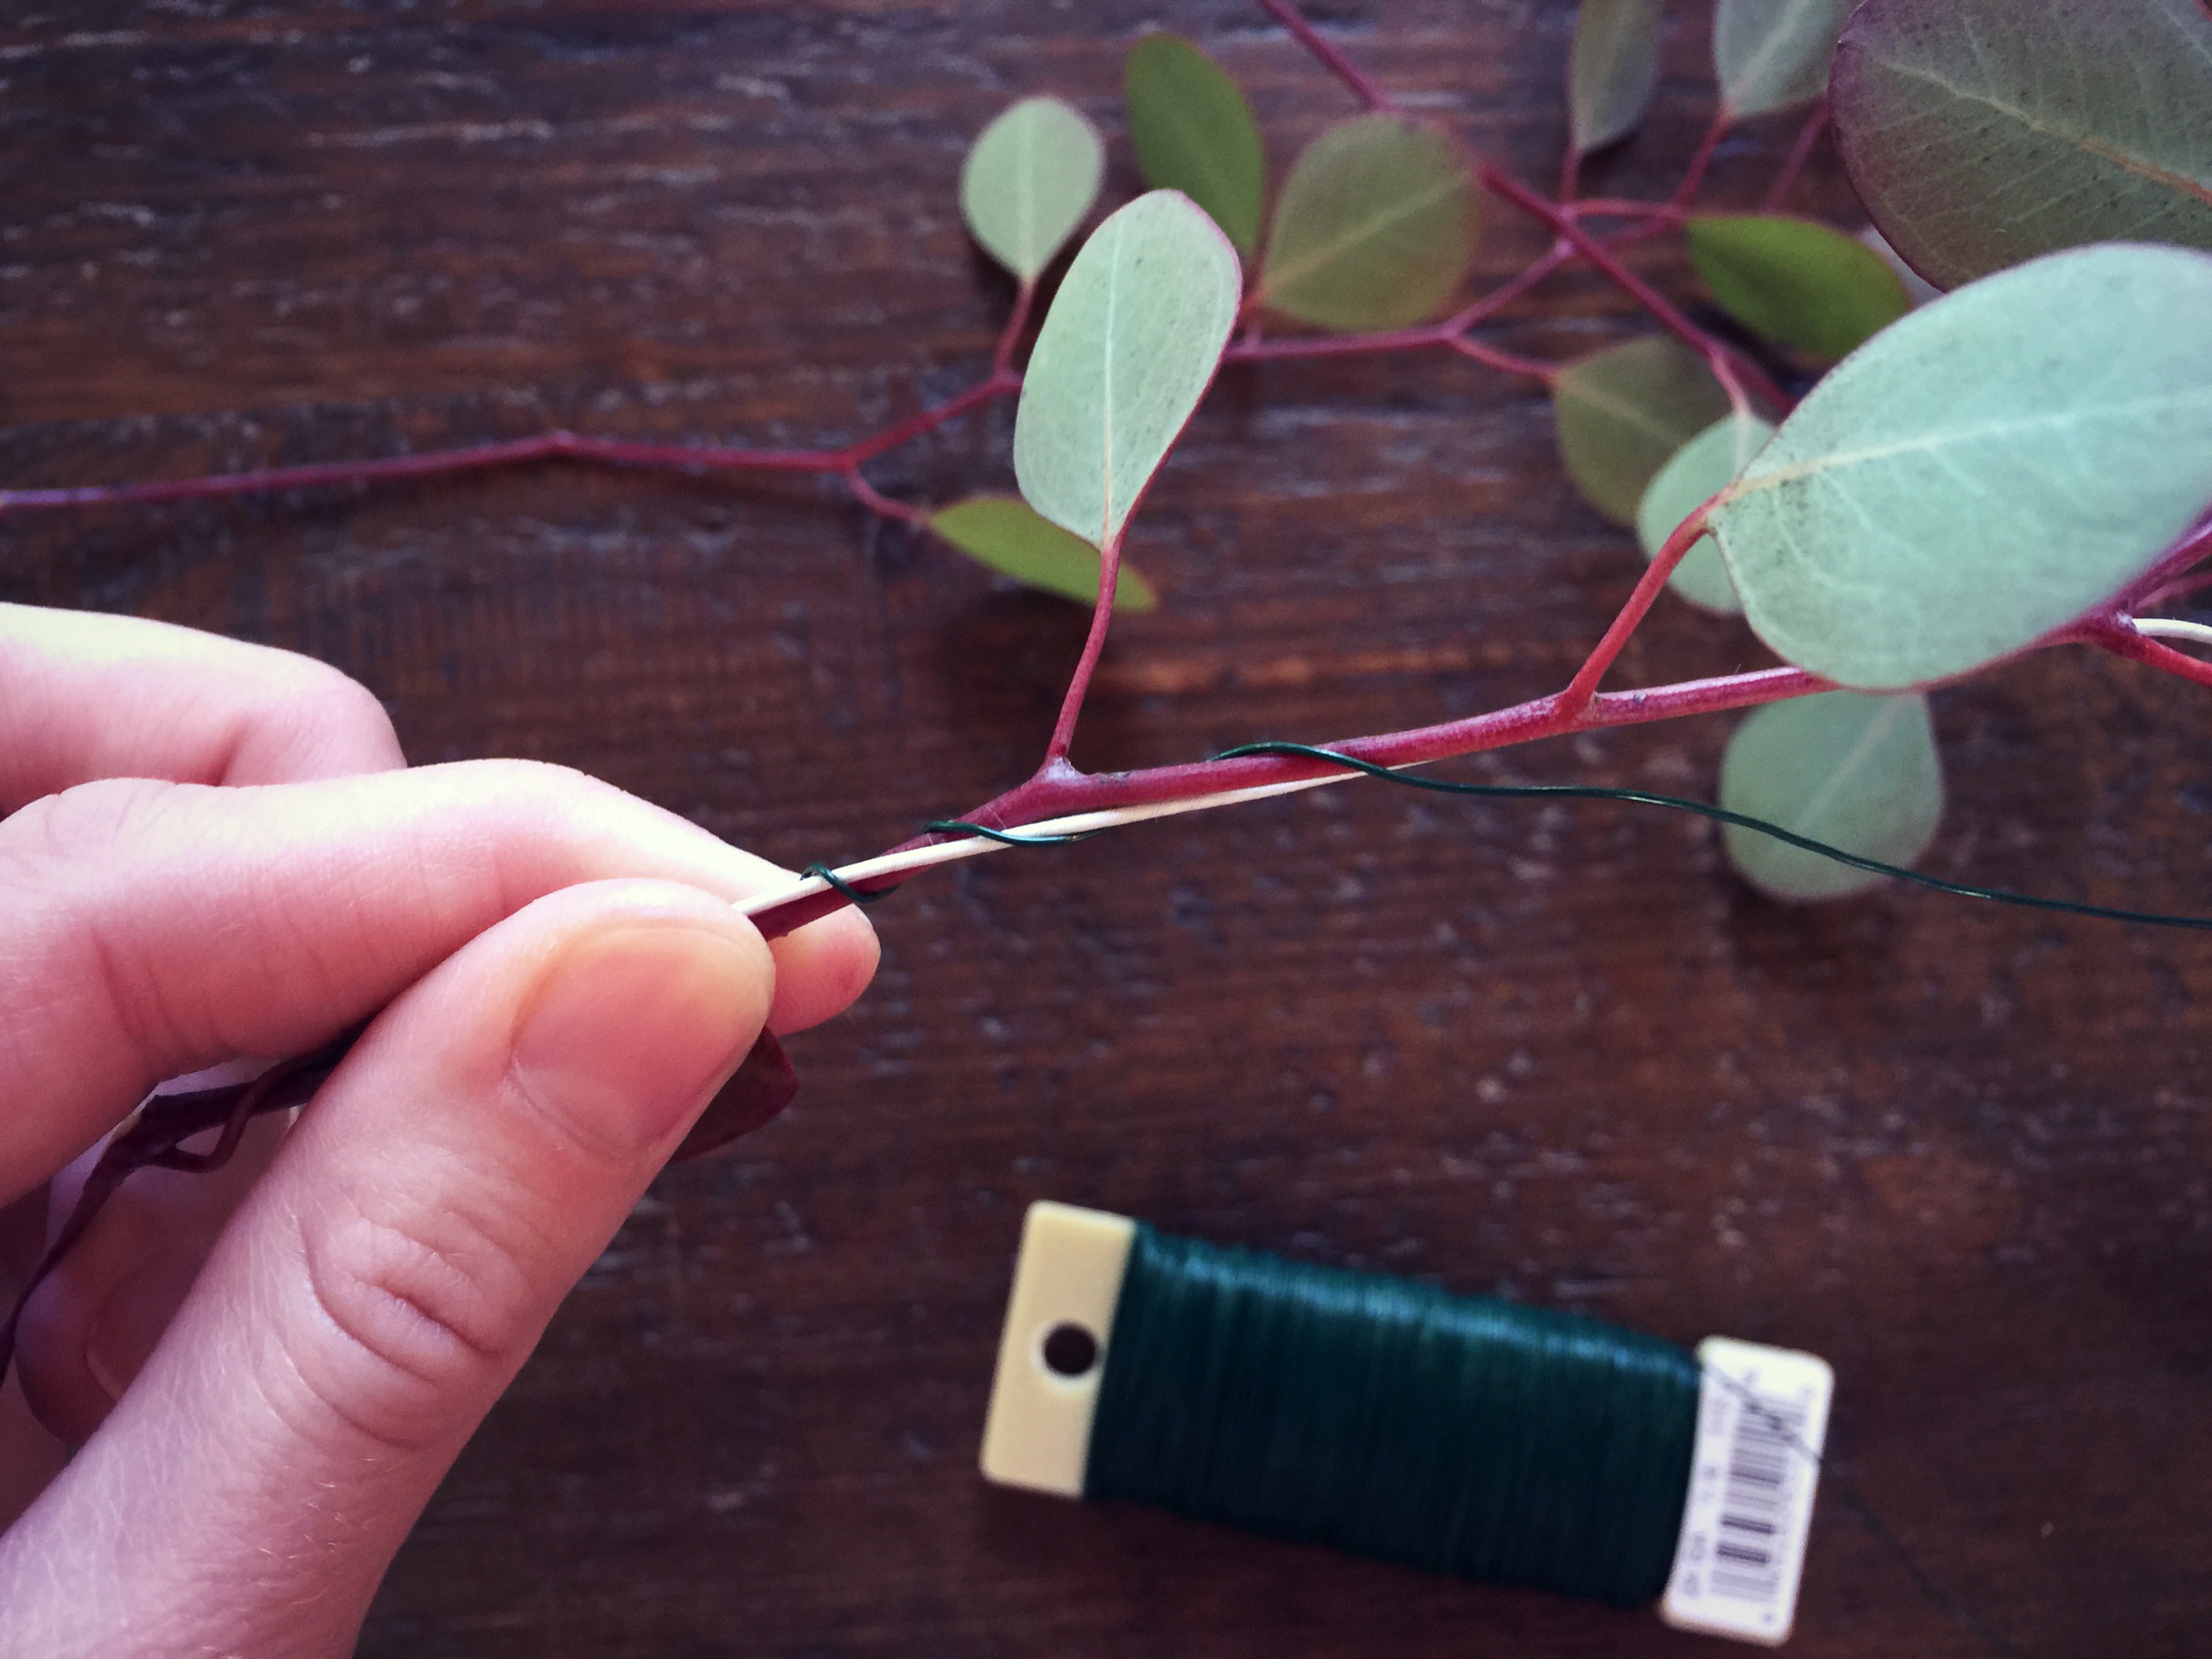
- Holding one piece of filler at a time, wrap green florist wire around the filler and fabric wrapped wire to hold them tightly together. Do this the entire length, overlapping the filler pieces. Cut the green florist wire when done.
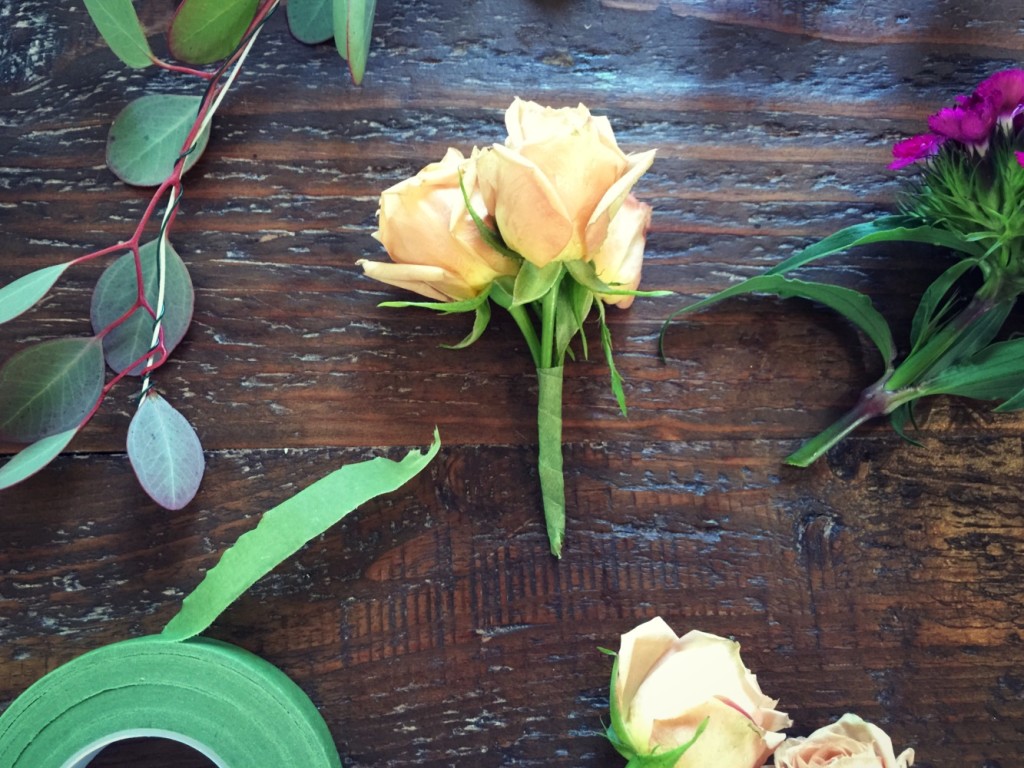
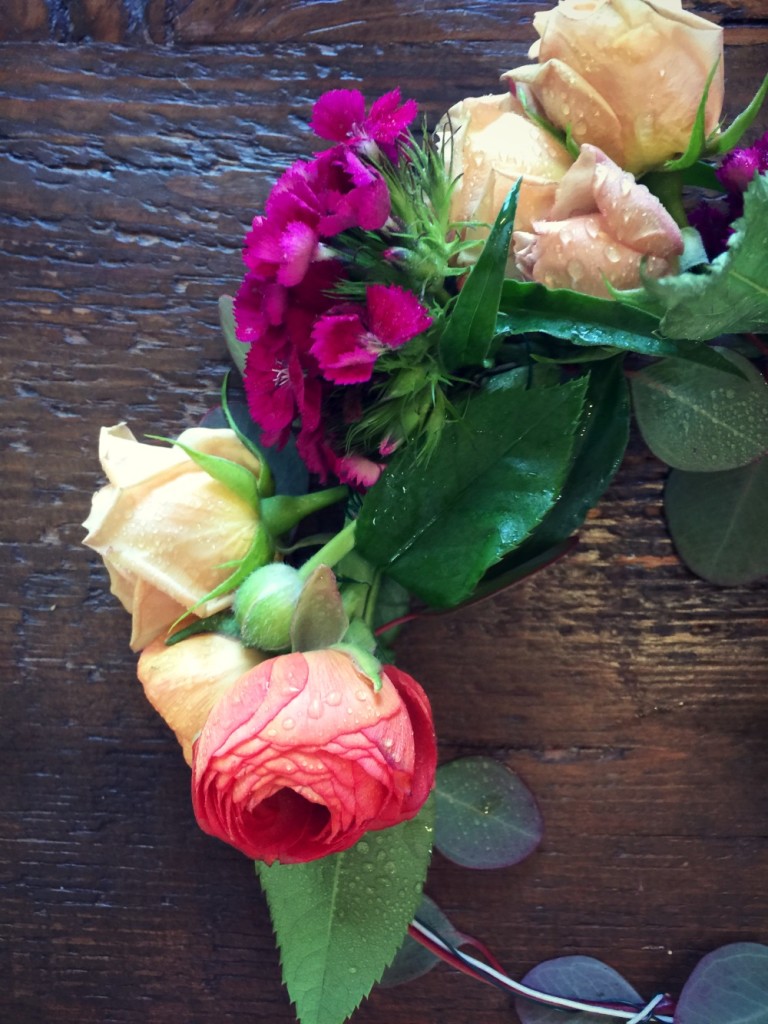
- Prep your flowers (clean off bad looking petals and leaves and trim the stems) and simply wrap them onto your fabric wrapped wire with another piece of green florist wire. Don’t worry if there are gaps. I added additional flowers with more wire when I was done. I also clustered some flowers together with florist tape to give the floral crown more volume.
- Bend the entire length into a circle and twist the ends together. Make sure all the pointy wire ends are tucked away, so the wearer won’t get poked!
That is it! So quick and easy! I think I am going to start making these more often! We loved our May Day festivities this year! I hope to continue the traditions next year!





Leave a Reply