Gilded

a life of design

  • Email
  • Facebook
  • Instagram
  • LinkedIn
  • Pinterest
  • Twitter
  • Vimeo
  • About
    • Featured Designs
  • Blog
  • Lifestyle Art
  • Interior Design
    • Children’s Bedrooms
    • Children’s Play Space
    • Laundry Room
  • New Home
  • Parties
    • Adult Birthdays
    • Baby Showers
    • Children’s Birthdays
    • Dinner Parties
    • Holiday Celebrations
    • Retirement Parties
    • Weddings
  • DIY
  • Food
    • Baking
    • Beverages
    • Cooking
    • Recipes
      • Breakfast + Brunch Recipes
      • Lunch Recipes
      • Dinner Recipes
      • Snack + Appetizer Recipes
      • Dessert + Sweet Recipes
  • Holidays
    • Christmas
    • Cinco de Mayo
    • Easter
    • Father’s Day
    • Halloween
    • May Day
    • Mother’s Day
    • New Years
    • St. Patrick’s Day
    • Thanksgiving
    • Valentine’s Day
  • Travel

June 28, 2015 by: Erin Catlin

Stellar Sun Party Prop

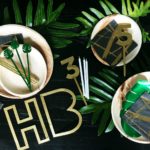
I absolutely needed a stellar sun prop for my galactic themed party! I really couldn’t find anything that was quite what I wanted, so I decided to go forward with (what I consider) a fun DIY! Plus, I love making my own party components to give my guests a unique and delightful experience. This huge sun will work great as decor or a prop for my photo wall! See below for details!


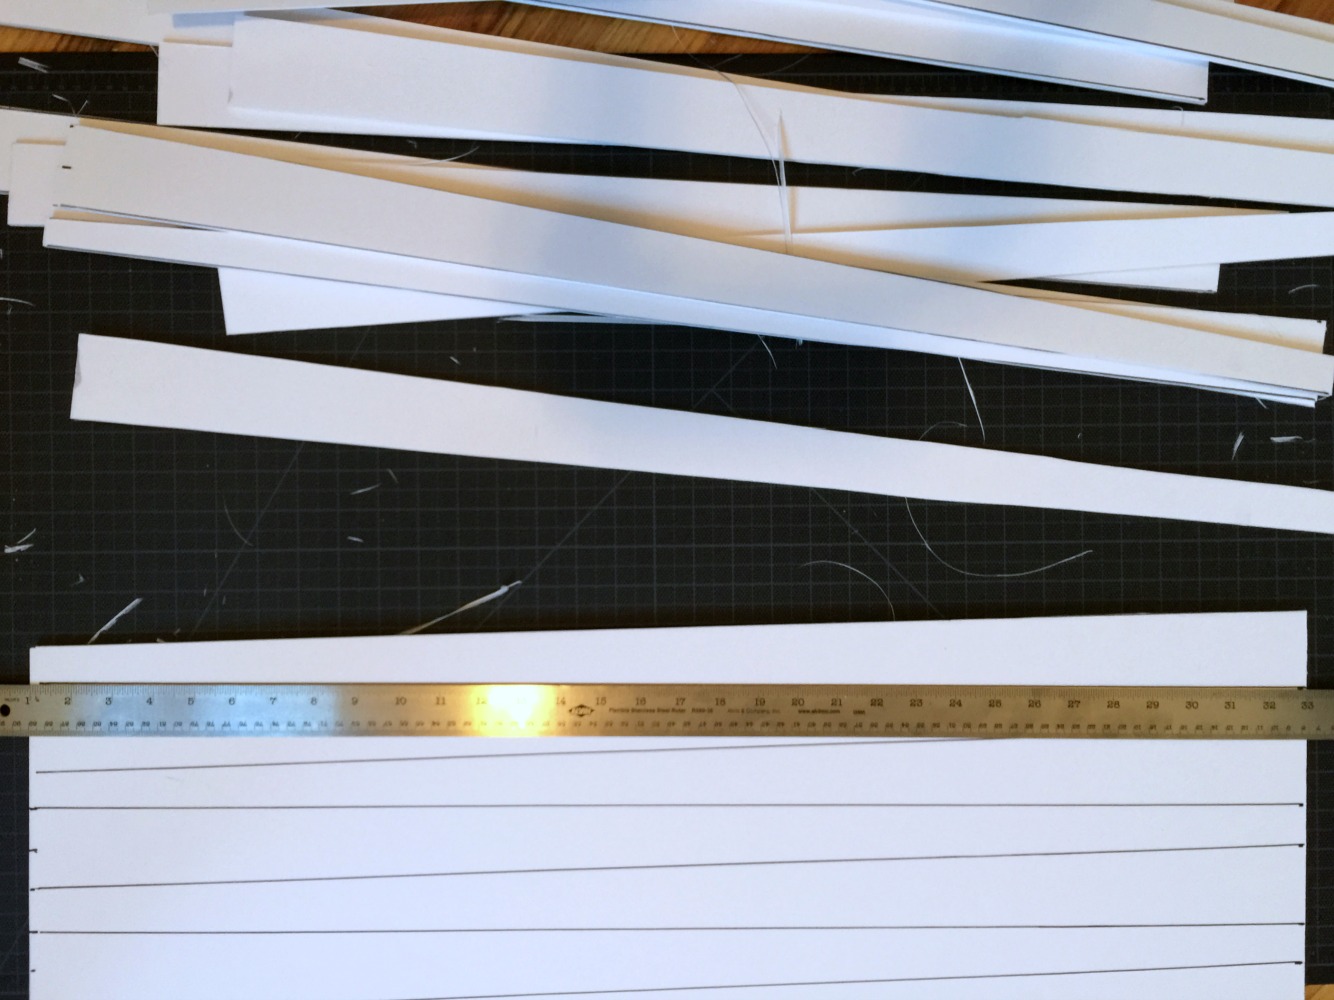
  1. Measure and mark your sun rays on a 32″ x 40″ piece of white 1/4″ thick foamcore. My widest end was 2″ and the smaller end was 1″.
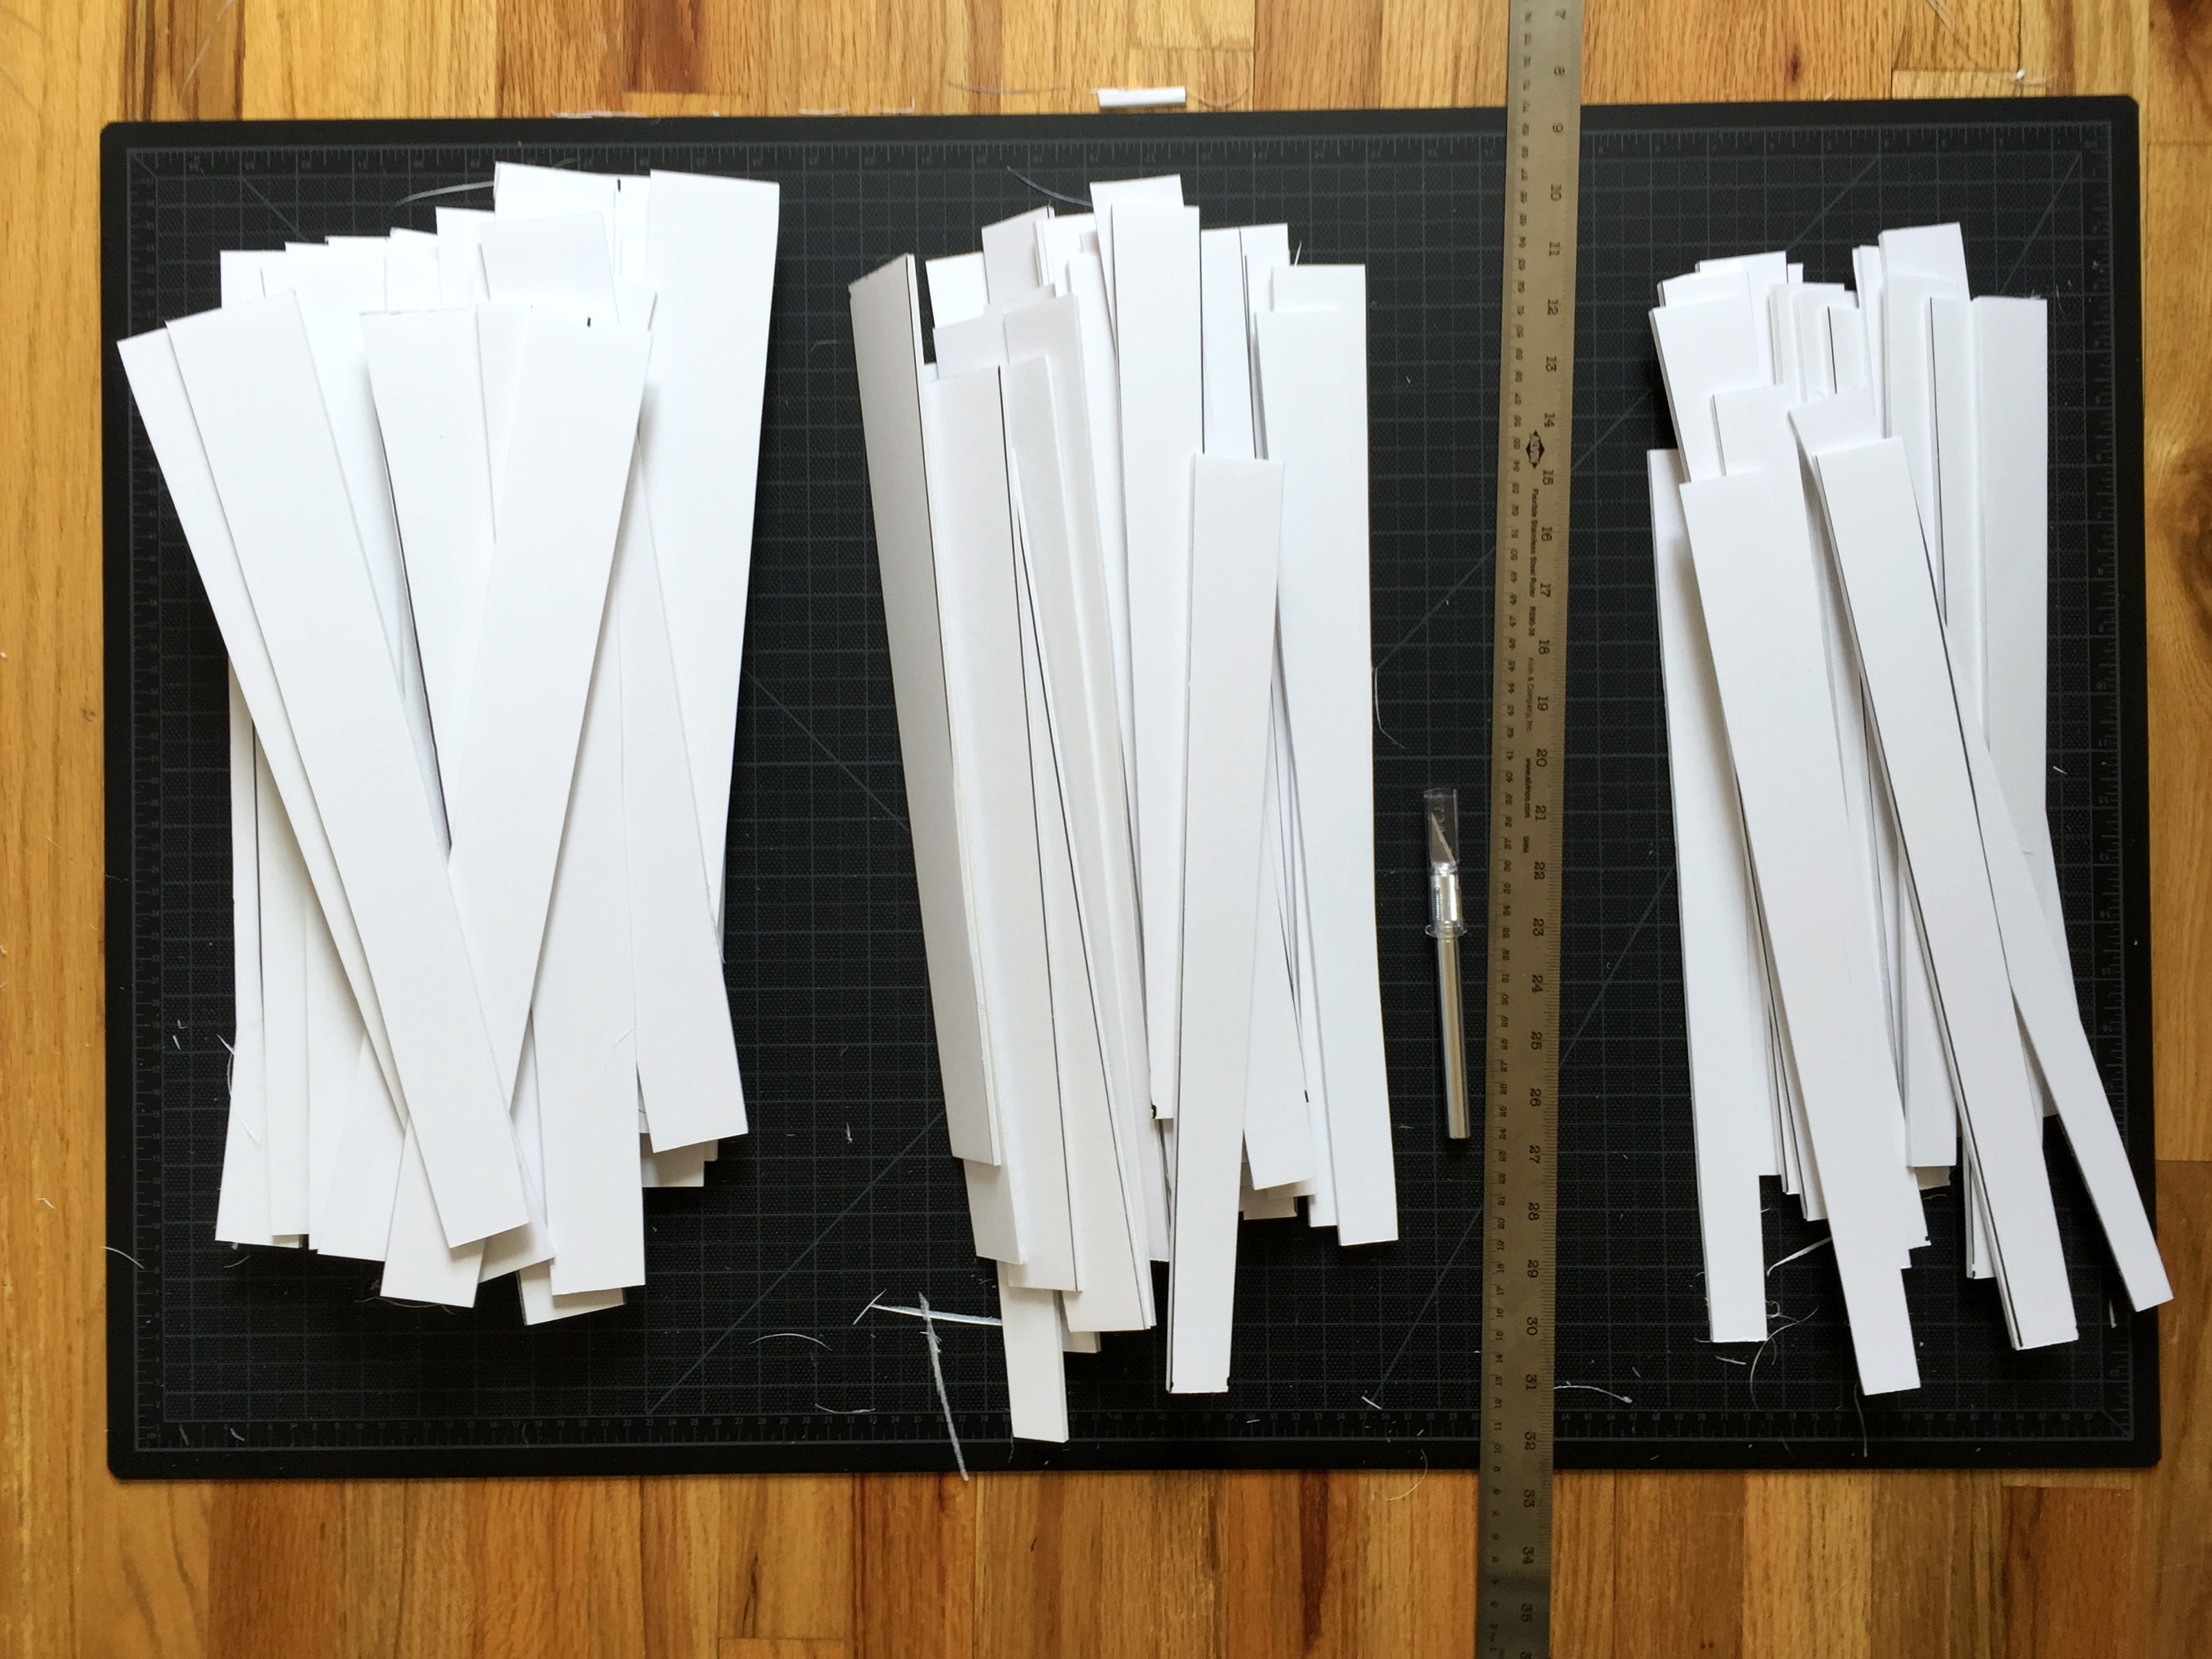
  2. Cut along your lines with a large x-acto knife. I cut through 2 pieces of foamcore to get double the quantity of rays.
  3. Cut the rays in half. This will create two different sized rays, which was what I wanted… a more organic look.
  4. Trace a large circle (I used a standard sized plate) on matboard. I used metallic gold matboard because I originally was going to cut the rays from the same board, but I felt it was not stable enough. Plain white matboard will work for the circles.
  5. Cut the circles out with an x-acto or other preferred cutting device.
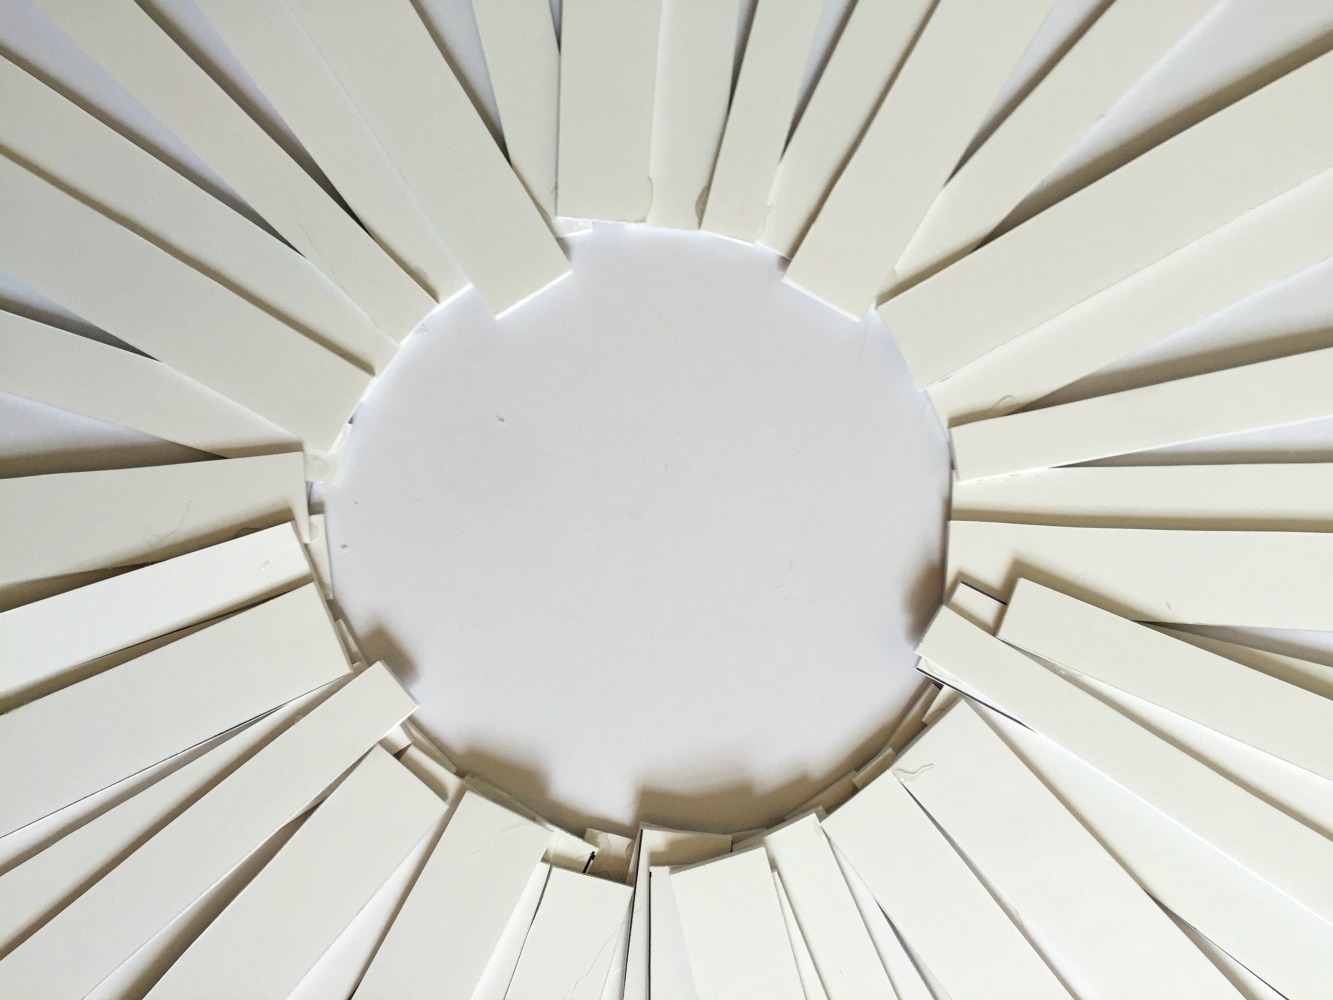
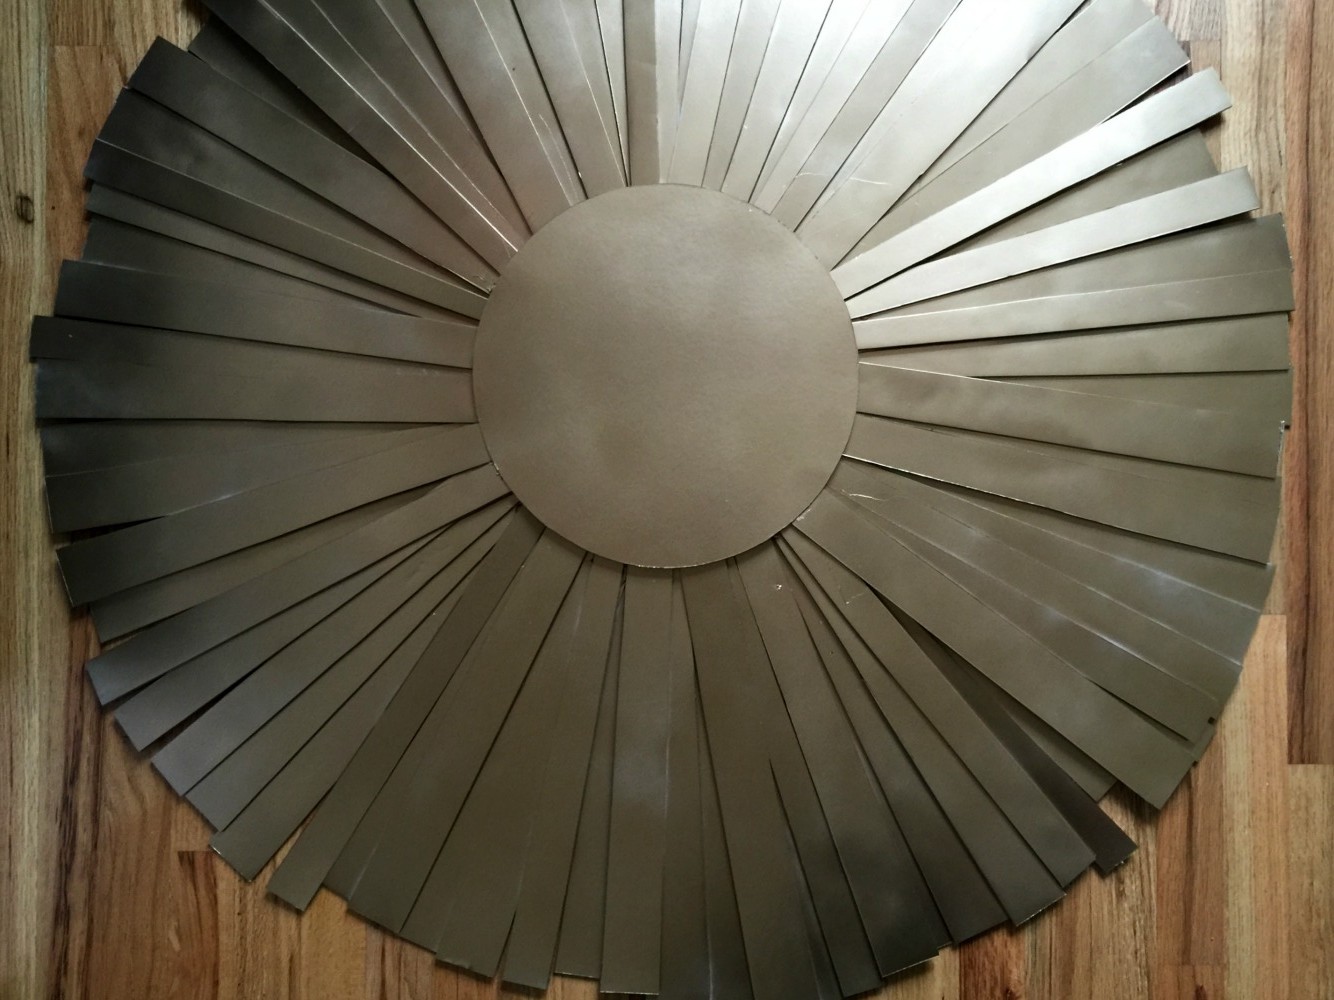
  6. Heat a hot glue gun and lay out your rays along the edge of one of your circles. Make sure the smaller ends of the rays are in the center.
  7. Glue down your rays. Overlap where needed, try to make sure there are not a lot of gaps.
  8. Glue the second circle over the top of the rays, so the glued ends are covered.
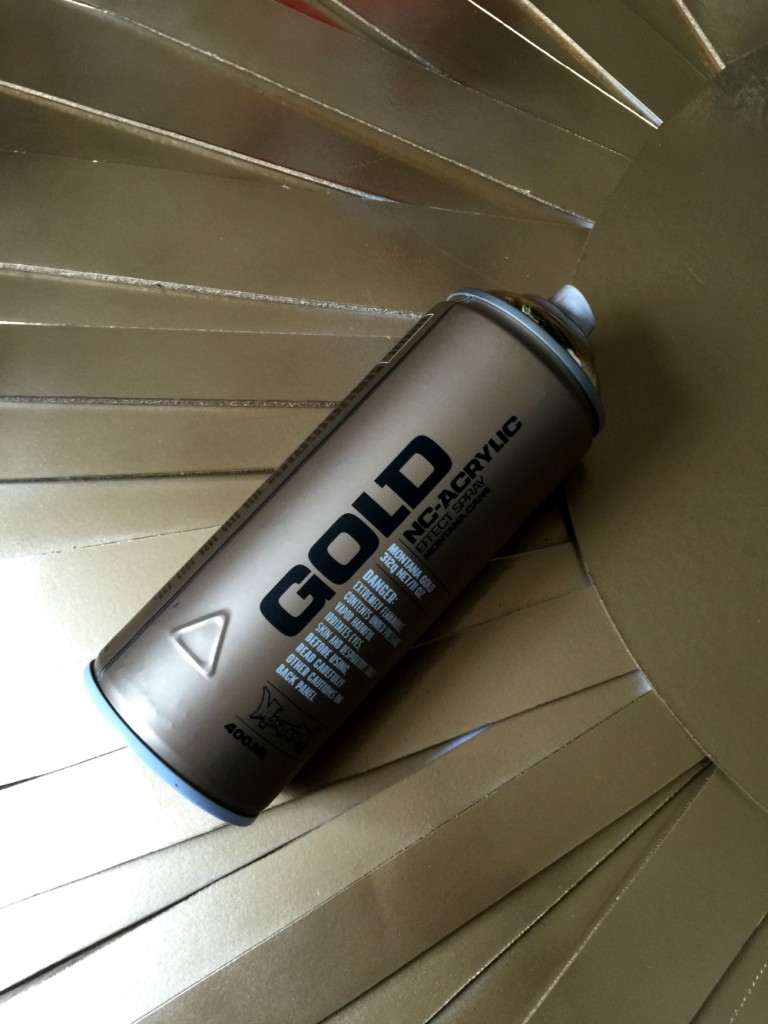
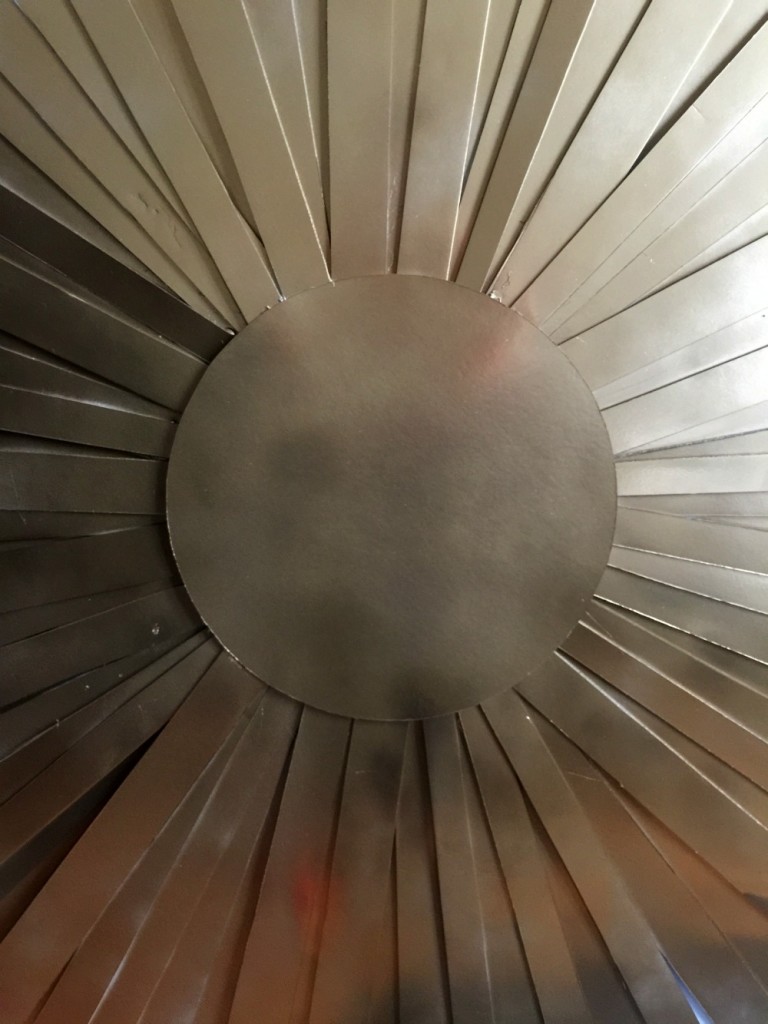
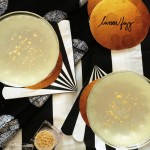
  9. Spray paint one side or both sides with desired color. I only needed to spray paint one side.
  10. Done!

I think the stellar sun turned out pretty great for a first pass. It is a very stunning piece in person. Shiny, big and galactic! It has lots of homemade character, which works well with my concept (my full party concept is going to be revealed later in July). I might add another layer of gold spray paint… we shall see if I have time to go back to this project. For now, it is done!

When researching gold spray paint, I discovered Brittany Makes’ fantastic gold spray paint comparison! I was able to select the color I wanted based on her great pictures and notes. These little details MATTER! Well… maybe only to extremely detail oriented designers! Honestly, though… check out the comparisons if you plan on using gold spray paint!

More from my site

  • Le Voyage Dans La Lune (A Trip to the Moon) Birthday PartyLe Voyage Dans La Lune (A Trip to the Moon) Birthday Party
  • A Trip To the Moon Interactive Invite DIYA Trip To the Moon Interactive Invite DIY
  • Bullet Planters Before + AfterBullet Planters Before + After
  • Le Voyage Dans La Lune (A Trip to the Moon) Birthday Party Version 2Le Voyage Dans La Lune (A Trip to the Moon) Birthday Party Version 2
  • Lunar Fizz Cocktail + MocktailLunar Fizz Cocktail + Mocktail
  • Tropical Beach Birthday PartyTropical Beach Birthday Party
Michelada Recipe
Le Voyage Dans La Lune (A Trip to the Moon) Birthday Party

Comments

  1. 1

    Cathy Bettino says

    June 28, 2015 at 12:25 pm

    Beautiful, fun and creative!

    Reply
    • 2

      Erin Catlin says

      June 28, 2015 at 9:54 pm

      Thank you!

      Reply

Leave a Reply to Erin Catlin Cancel reply

Your email address will not be published. Required fields are marked *

Gilded Pins

Visit Erin's profile on Pinterest.

GILDED IDEAS

GILDED ARCHIVES

Interior Design

Modern Efficient Laundry Room Before + After

The laundry room is quite possibly the hardest working room in our home, it … [Read More...]

Parties

Ready! Set! Jet! – Baby’s Bon Voyage Birthday Brunch

I cannot explain how much I LOVED this party for my baby girl! The design and … [Read More...]

Hi!

I am Erin! I am an interior designer in the midwest. I love the design process: ideating, developing, actualizing. It is so incredibly fulfilling. As is being a parent! Life with both could not be better♥️

© 2026 · Fun Genesis WordPress Theme by, Pretty Darn Cute Design